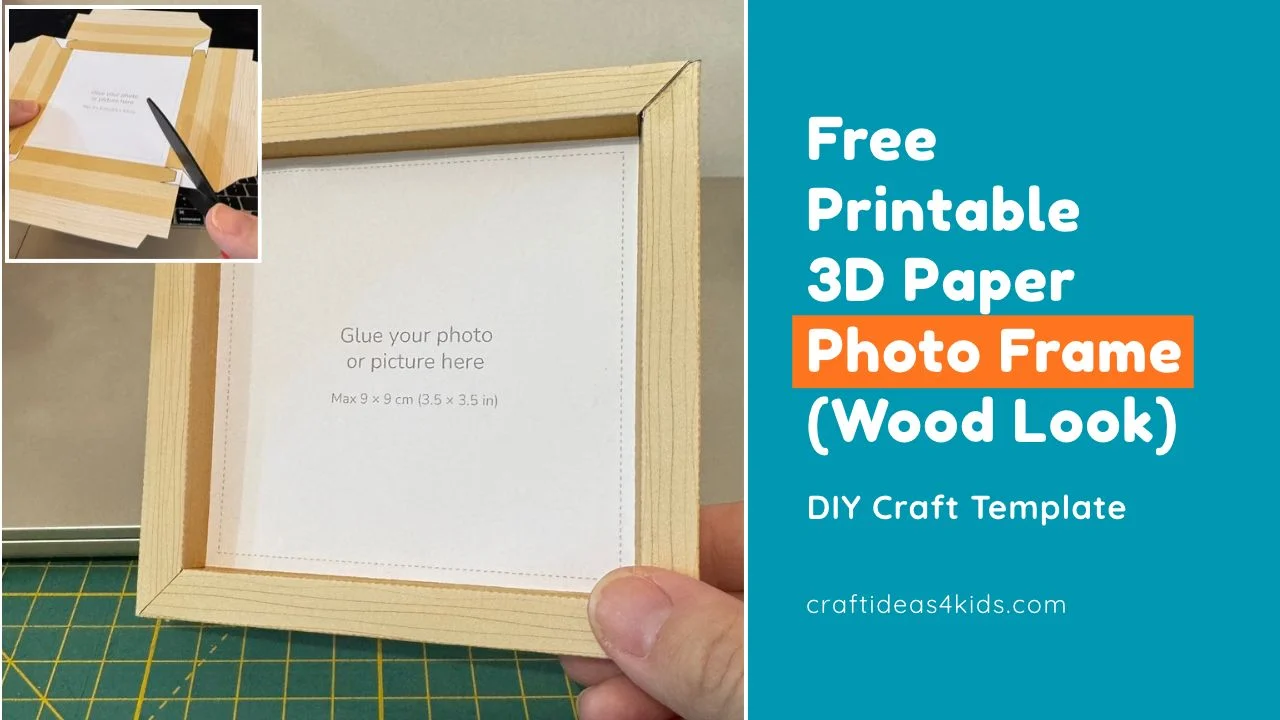
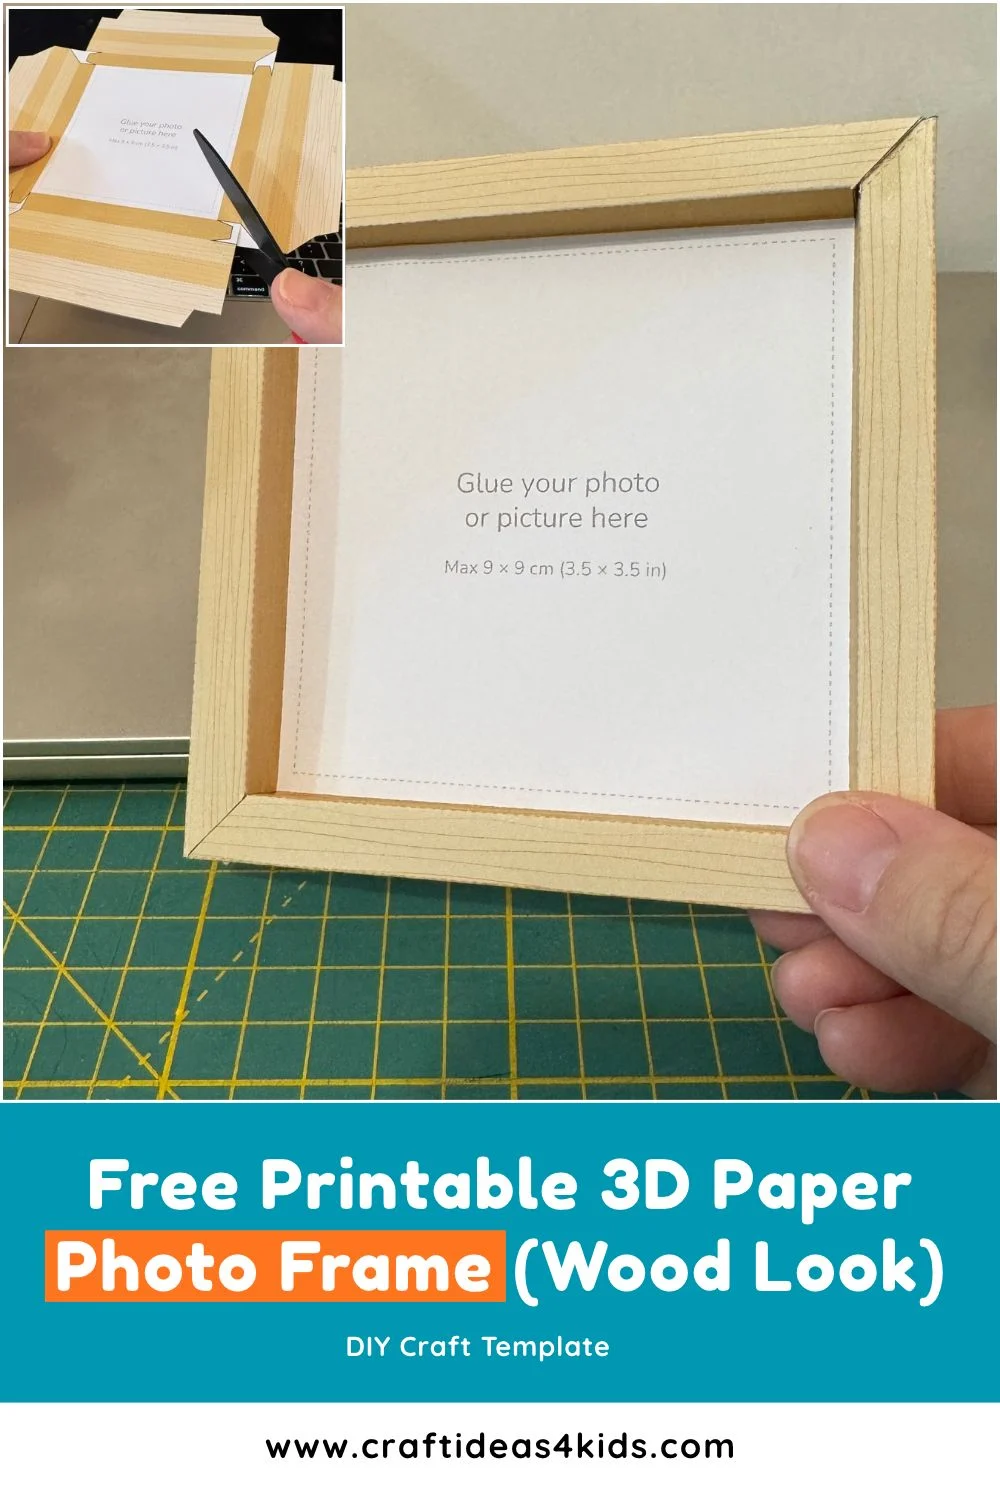
Make a real-looking wooden photo frame from just one sheet of paper! This free printable 3D paper photo frame has a light wood design and folds into a sturdy frame that is 1 cm deep, just like a real shadow-box frame. Add a photo, a drawing, or a small piece of art, then hang it on the wall. It makes a lovely handmade gift for grandparents, teachers, and friends.
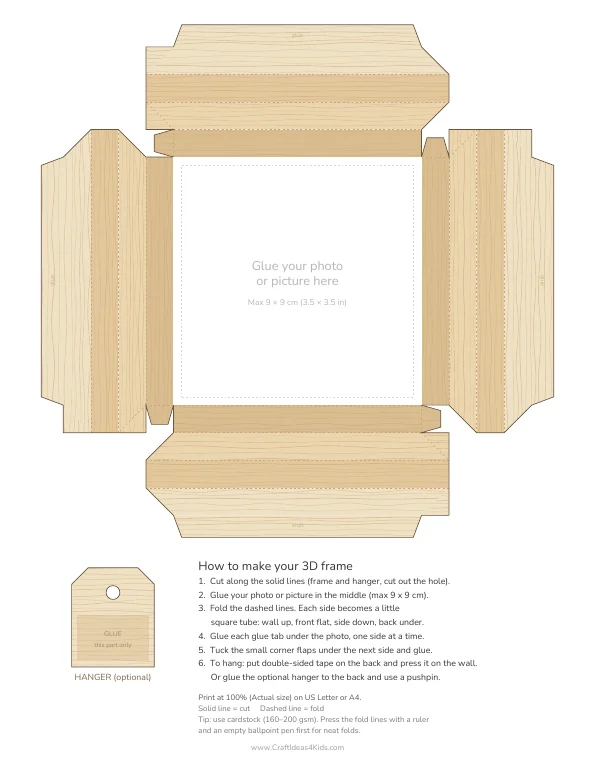
What You Need
- The free printable template (prints on US Letter or A4)
- White cardstock, 160–200 gsm (thicker paper makes a sturdier frame)
- Scissors or a craft knife and cutting mat
- A ruler and a bone folder or an empty ballpoint pen (for neat folds)
- Glue stick or craft glue
- A photo or drawing, up to 9 × 9 cm (3.5 × 3.5 in)
- Double-sided tape to hang it on the wall
How to Make the 3D Paper Photo Frame
1. Print at 100%
Print the template on cardstock. In the print settings, choose Actual size or 100%, not “Fit to page”, so the frame comes out the right size. The same file works on both US Letter and A4 paper.
2. Cut it out
Cut along all the solid lines, including the small corner flaps. If you want to use the optional hanger, cut it out too.
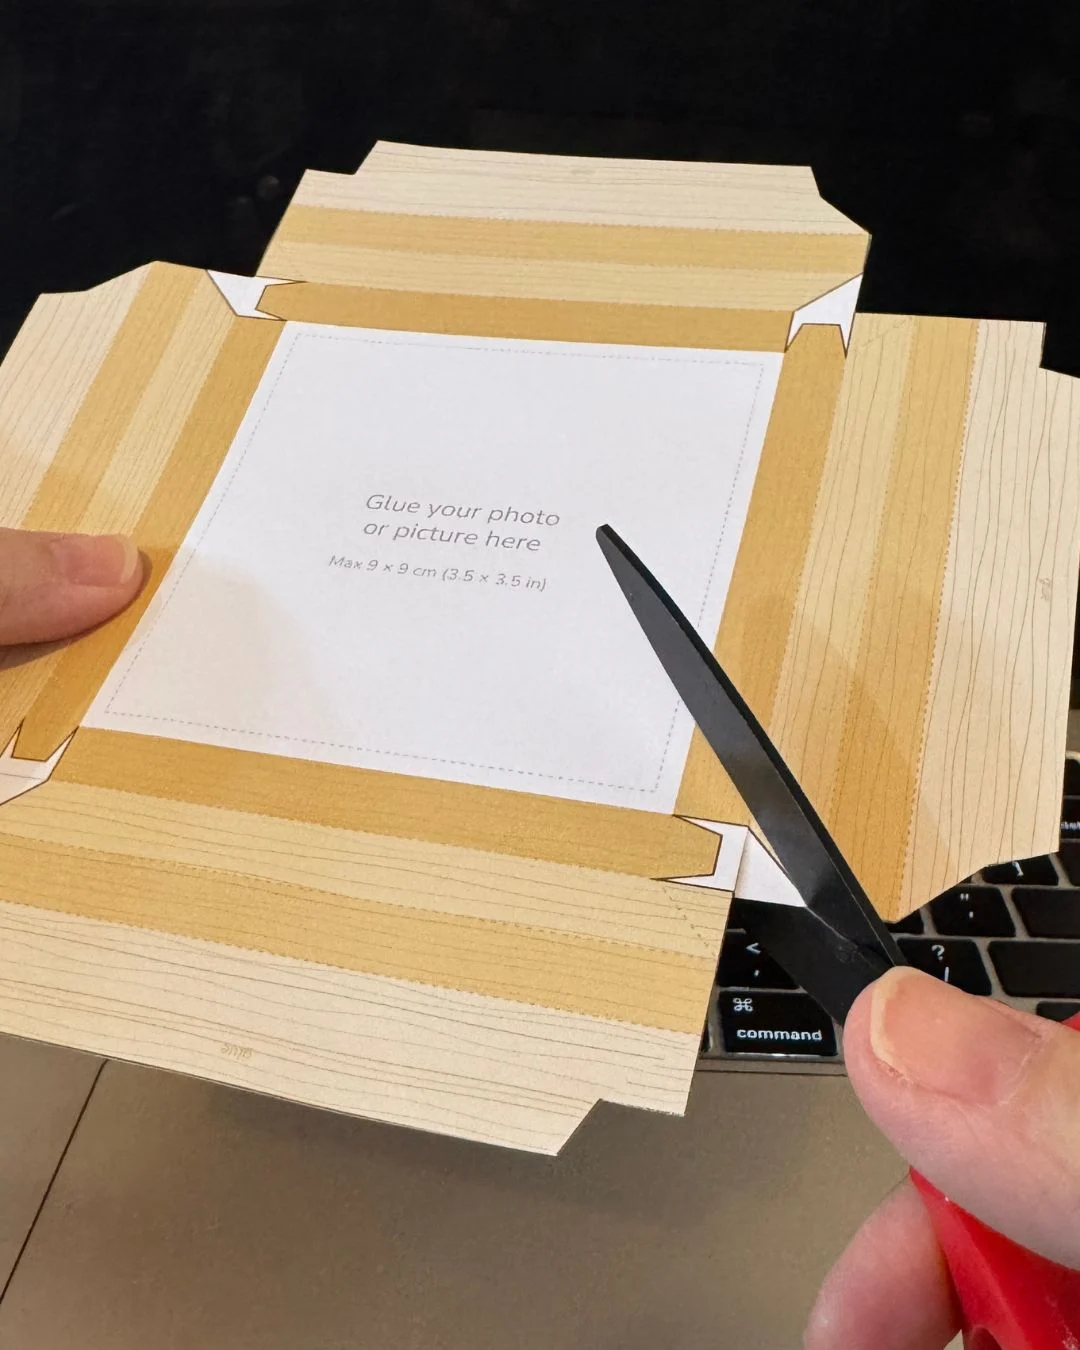
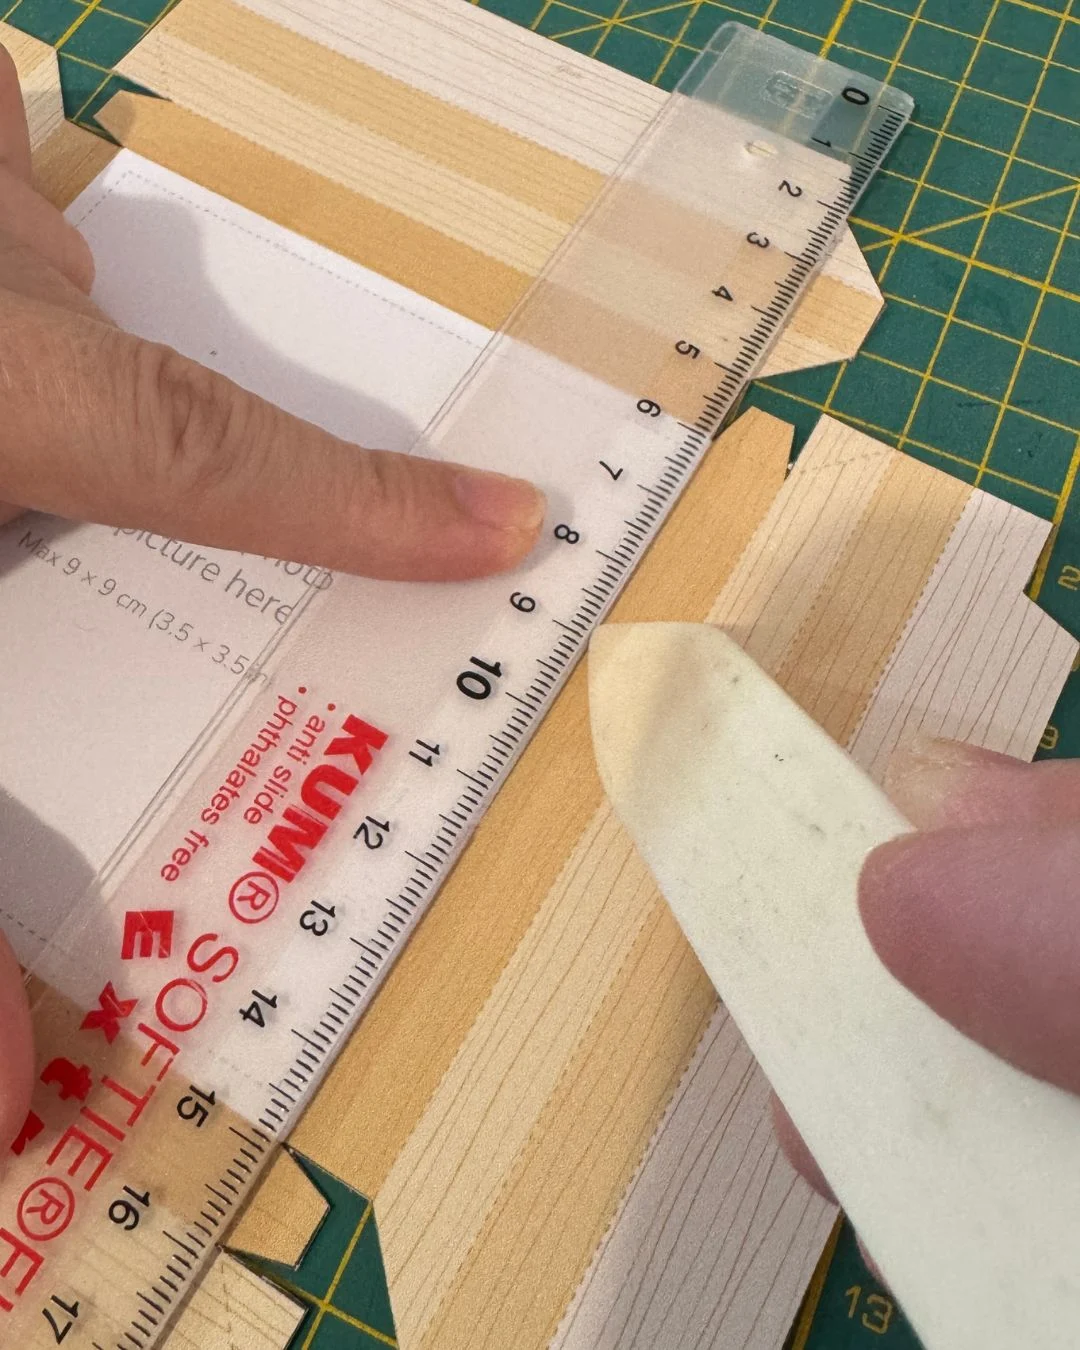
3. Score the fold lines
Place a ruler along each dashed line and press firmly with a bone folder or an empty ballpoint pen. This makes the folds crisp and straight, which is the secret to neat corners.
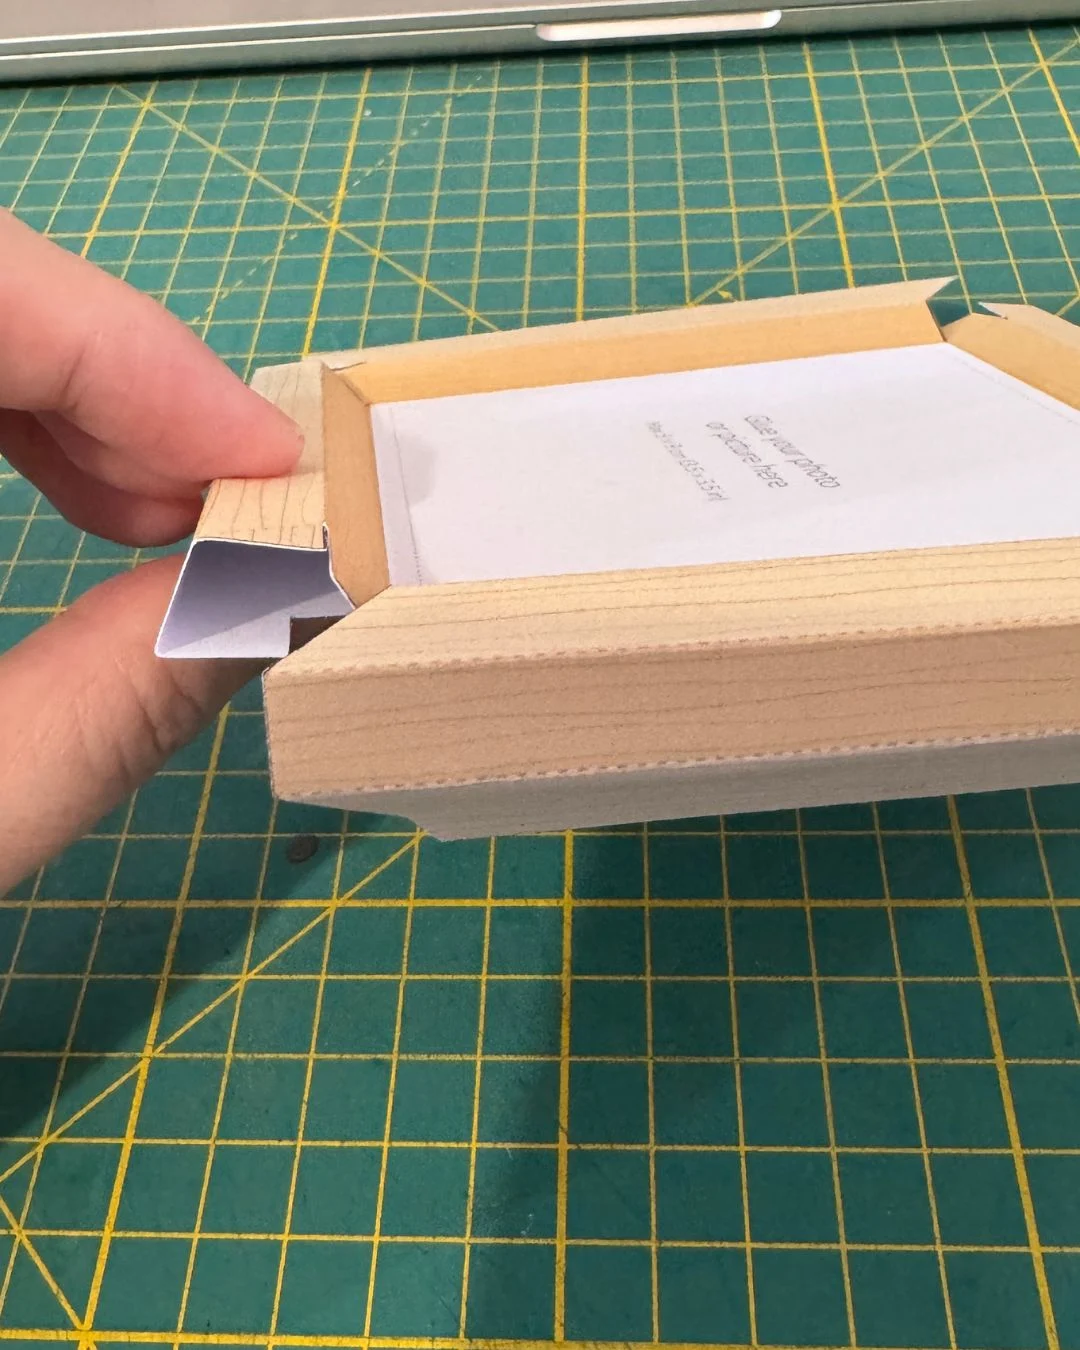
4. Fold each side into a square tube
Work on one side at a time. Fold the inner wall up, the front flat, the outer side down, and the back underneath, so the side becomes a little square tube. Glue the tab under the photo panel.
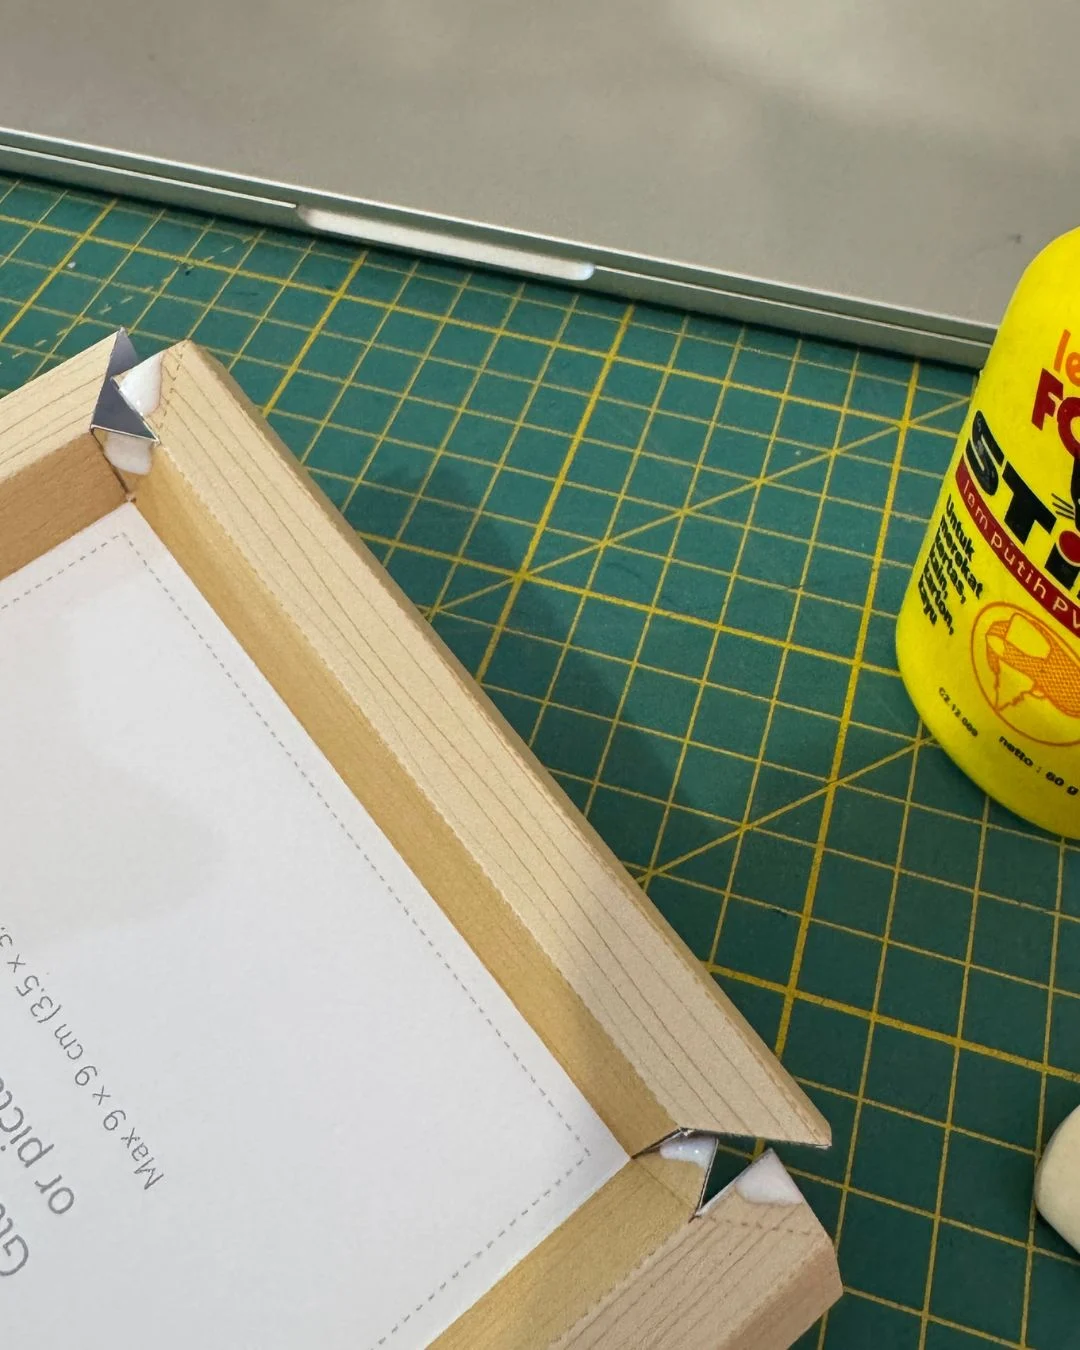
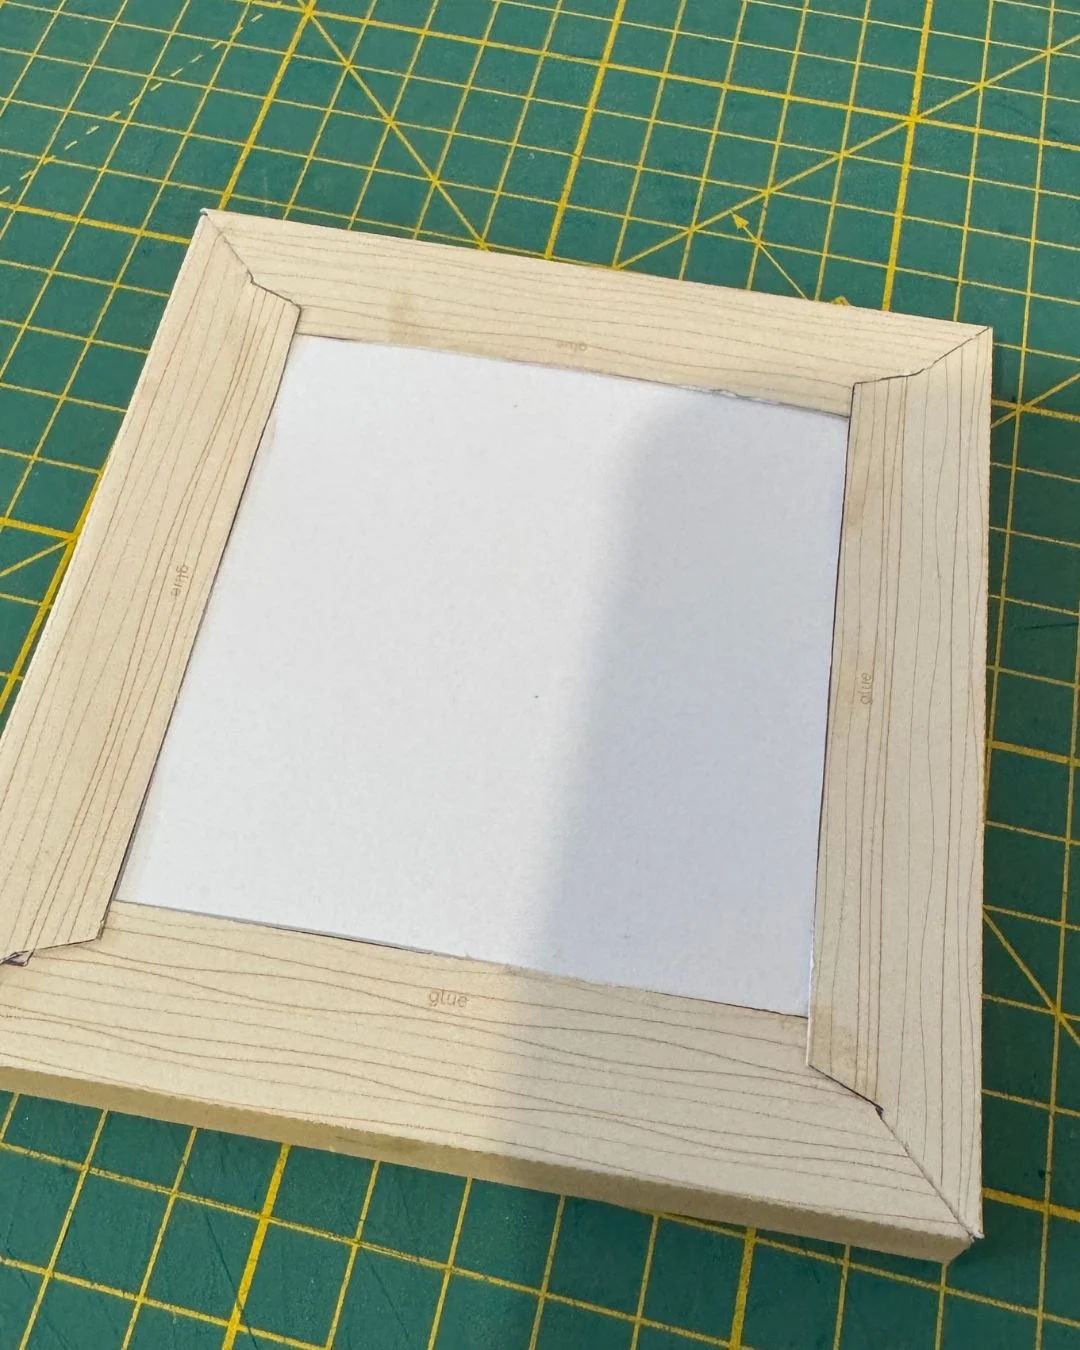
5. Close the corners
As you fold the next side, tuck the small corner flaps under the side you already made and glue them in place. They close the corners so the frame looks neat from the front. Repeat until all four sides are done.
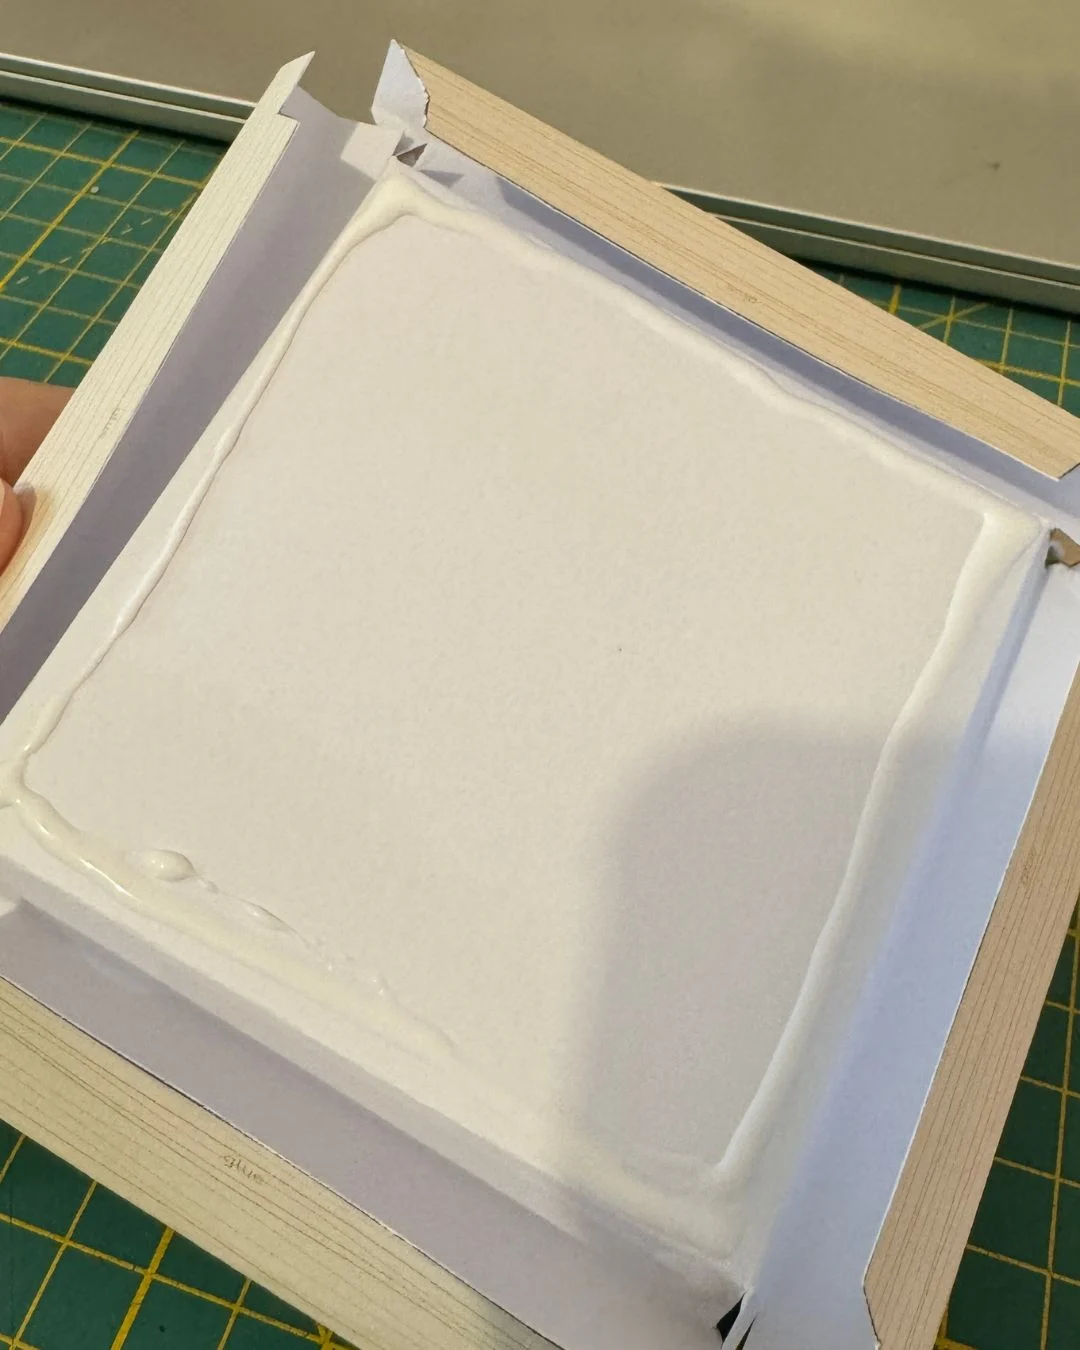
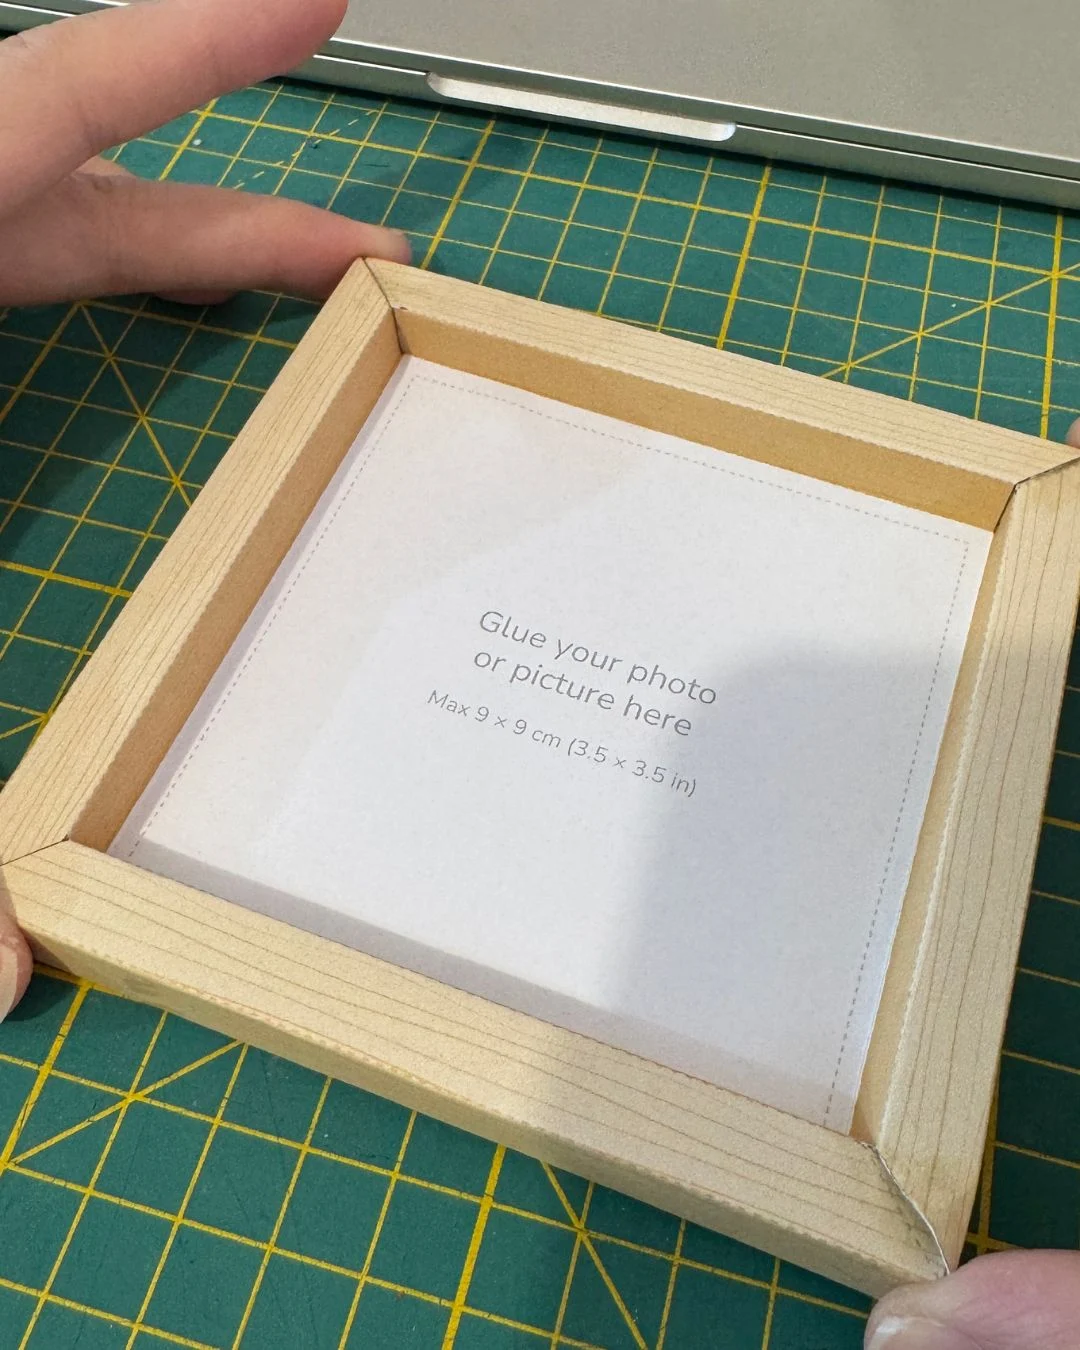
6. Add your photo
Glue your photo or picture onto the white square in the middle.
7. Hang it up
Put a few pieces of double-sided tape on the back and press the frame onto the wall, a cupboard door, or above your desk. You can also glue the optional hanger to the back, top center, and hang the frame on a pushpin.
Tips for the Best Result
- Use cardstock: regular printer paper works, but the frame will be softer and less sturdy.
- Go slowly at the corners: hold each corner for a few seconds while the glue sets.
- Kids’ art looks amazing: frame a small drawing, a pressed flower, or a birthday message.
- Make a gallery wall: print several frames and hang them together.
Frequently Asked Questions
What size is the finished frame?
The finished frame is about 11 × 11 cm (4.3 × 4.3 in) and 1 cm deep. It holds a photo or picture up to 9 × 9 cm (3.5 × 3.5 in).
Can I print it on A4 paper?
Yes. The template is made to print on both US Letter and A4. Just make sure to print at 100% (Actual size).
What age is this craft for?
Kids aged 7 and up can make it with a little help. Younger children can decorate and add their picture while an adult does the cutting and folding.
Can the frame stand on a table?
This frame is designed to hang on the wall with double-sided tape or the optional hanger. Because it is 1 cm deep, it also looks great leaning against a wall on a shelf.
Is the template free?
Yes! It’s free for personal, home, and classroom use.
Download the Free Template
Save this page to Pinterest so you can find it later!
Looking for more paper crafts? Try our free Christmas origami paper or browse all our origami tutorials.